Introduction
The purpose of this document is to demonstrate some of the sources of regular broadcast frequencies in order to assess your radio and antenna performance. Other aspects feature methods to test your transmission efficacy. A search of the web will find other stations for these purposes, but this will introduce the concepts.
Receive/Listen
There are a number of radio sites that regular transmit near frequency ranges of interest to the amateur radio operator. These stations are either beacons that routinely transmit known-strength signals or transmit time signals.
Beacons
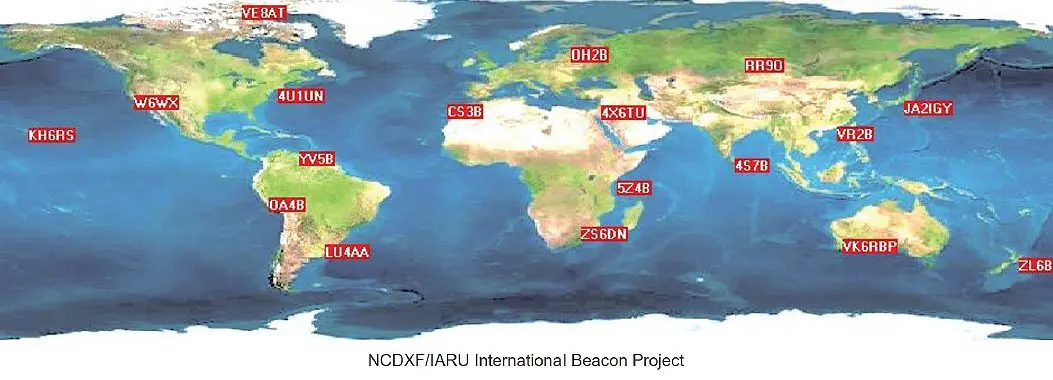
Ham radio beacons are allowed to operate in order to better understand propagation. These stations typically operate 24/7 and transmit signals of known strength.
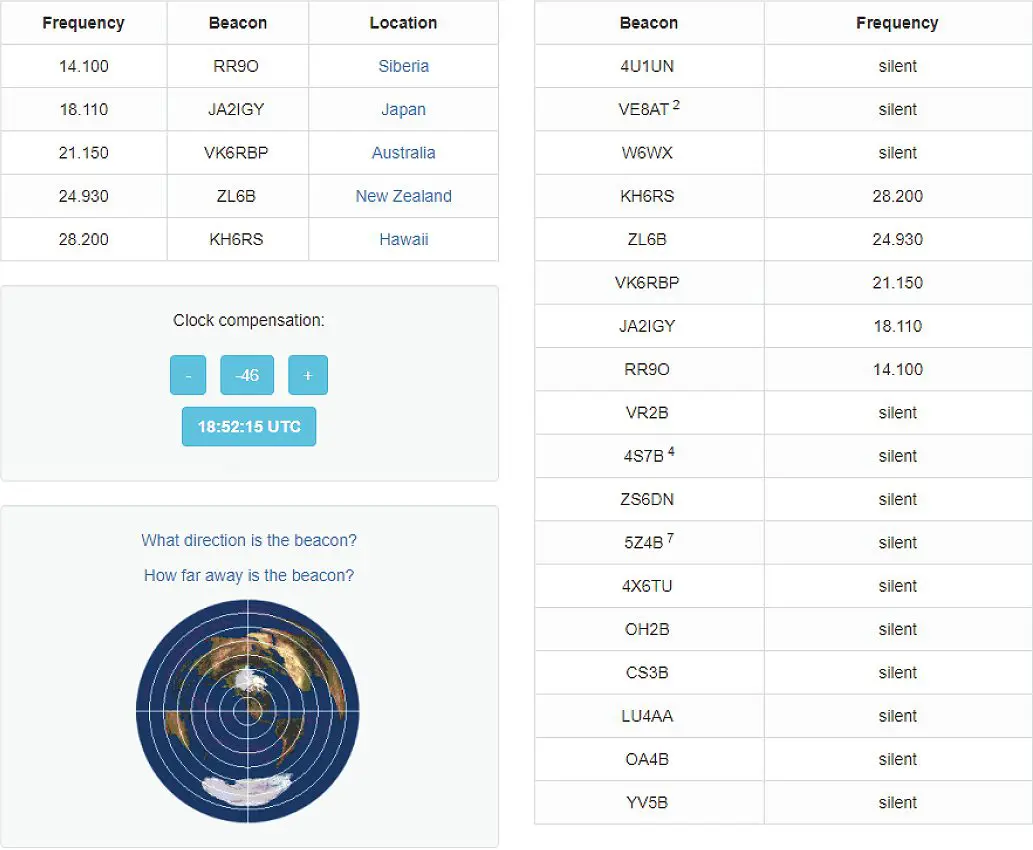
The International Beacon Project transmits on five bands >
Stations transmit on each of the five bands on a 10 second transmission schedule and then are silent until they come up again on the schedule.
If you are able to be on the webpage while listening to the station, you will be able to hear which beacon transmitted. Stations are all over the world and initial transmit station ID and a tone at 100W and then the tone at 10W, 1W, and 100mW.
Time Signals
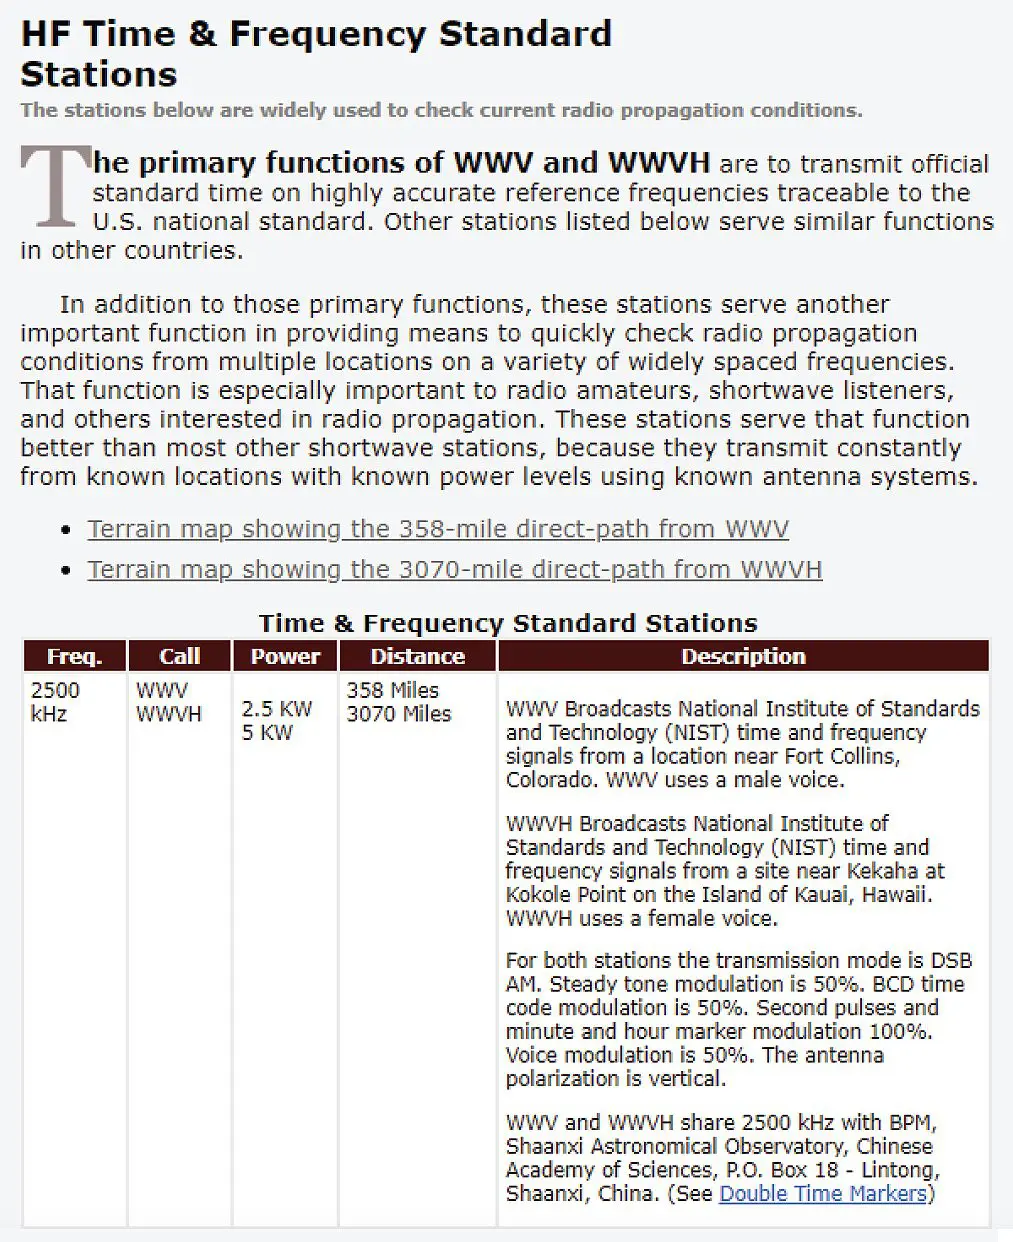
A number of countries, including the US, provide time signals. These signals include various digital and voice transmissions. This websitecovers time transmitters from 2.5 to 20 MHz >
There are a large number of rows in this table, but just the beginning is given to show part of the site and encourage you to go there and try the various frequencies at different times to see how successfully and reliably you can receive the signals.
Web Software Defined Radio
Web SDR is a relatively new entrant into the world of radio. Using these features, you can listen through someone else’s radio and antenna system that they’ve made available via a website interface. It is a listening-only facility, but it’s interesting to see what’s on the air in other locations. A gateway to the available Web SDR equipment is on: websdr.org
From that site, you can limit your area of interest and specific frequencies by using the filter boxes on the top.
Here, I’ve limited the equipment to North America and allowed for any bands:
For ease of use, there’s a map of the resulting stations at the bottom of the page:
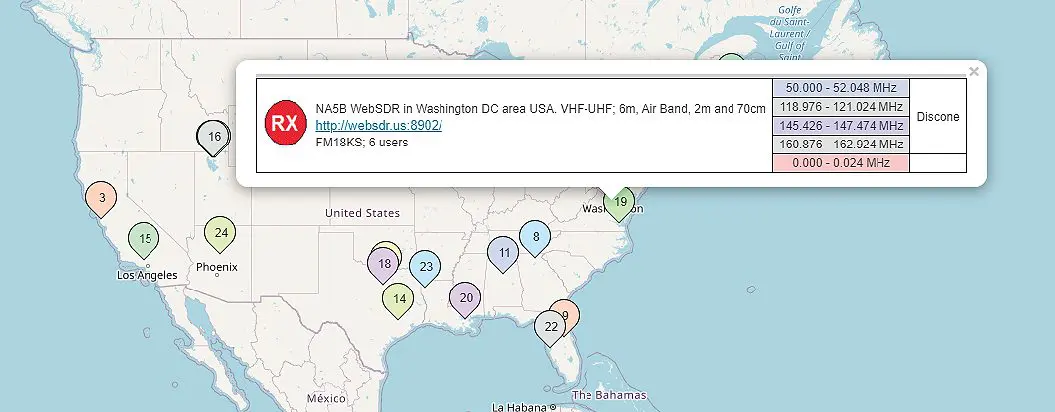
You can zoom in on the map, as I’ve already done, and then you can click on a site to see the details and get a link to go to the site:
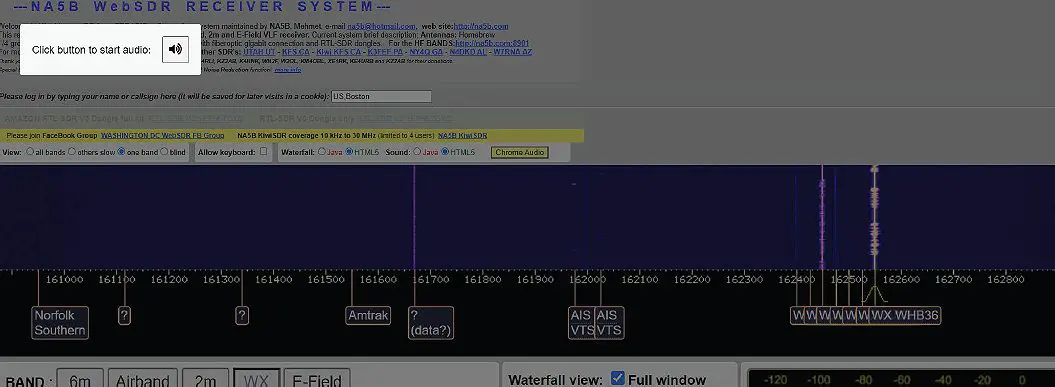
Oftentimes, you may need to initially click a button to get the stream started, but they’re not always so easily found as in this site:
Then, you can enter a frequency of interest or, for testing, the one on which you’re going to transmit. Make sure to set the appropriate mode and other parameters. You may want to use headphones on the computer if you’re going to transmit so you can more easily distinguish your test transmission from the sounds picked up on the radio and also avoid feedback.
Digital Modes
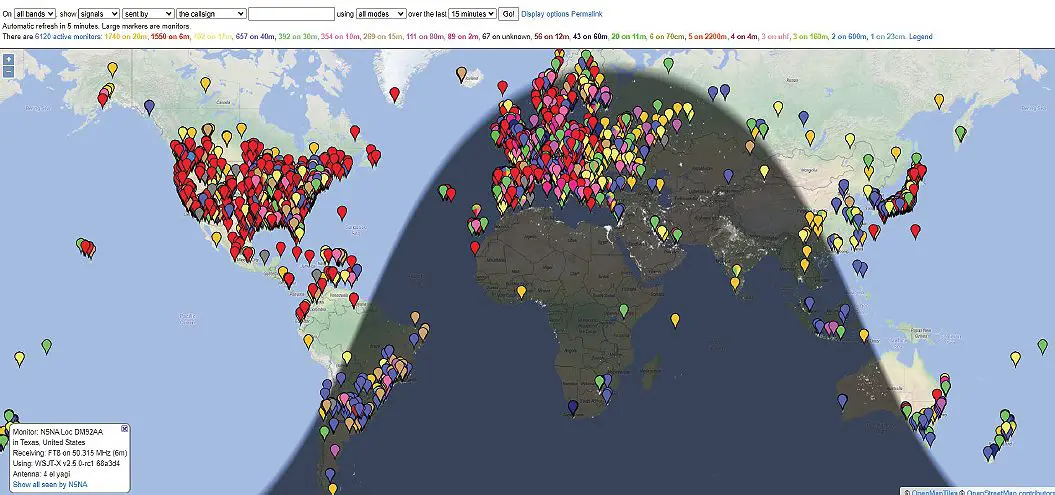
When you’re transmitting using digital modes such as FT8, PSK31, etc., there are a number of monitors that constantly capture and report data to the internet. There are a number of great resources to see these results. The first one, PSKReporter, is graphical and provides a great mapping feature here >
You can then do a search for your callsign to determine where you were able to reach with that particular radio and antenna arrangement:
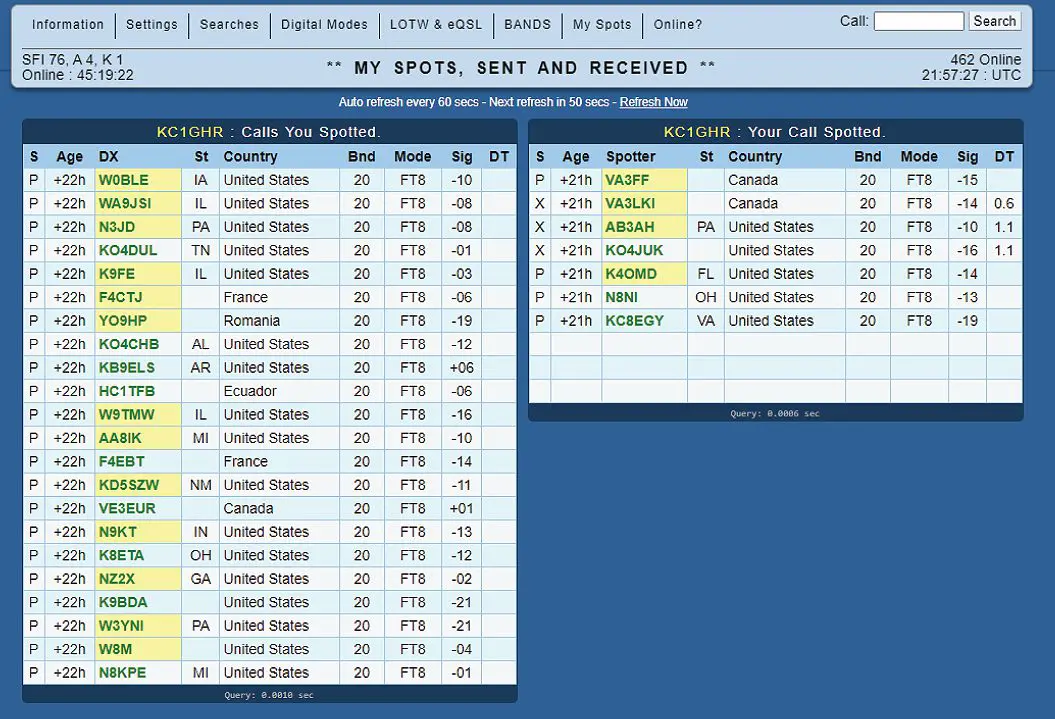
Another great tracking website is Hamspots >
Some features, like your spots, require a free account to login.
Fun Listening VHF/UHF while improving listening skills
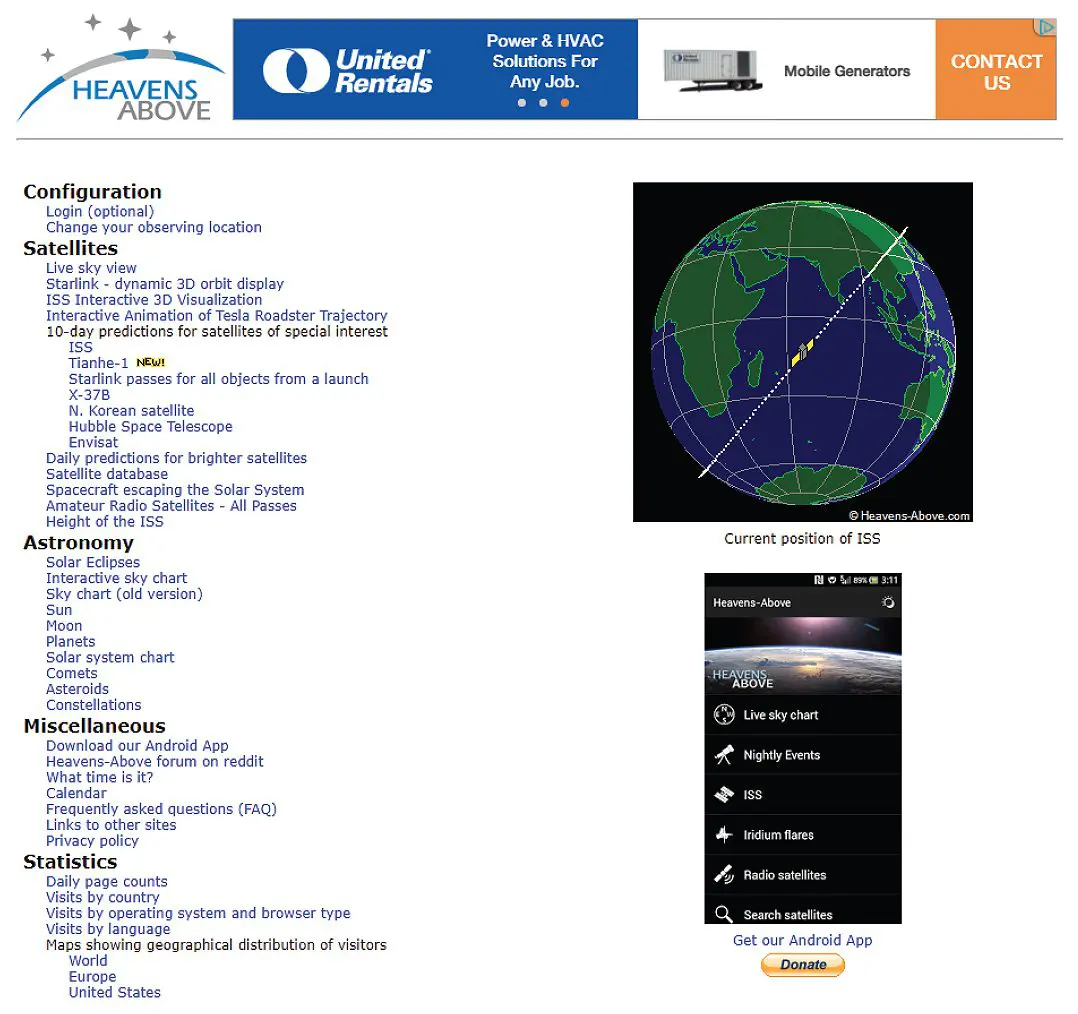
There are many orbiting satellites and man-made objects in space. A number of these provide beacons and communications of various forms. One of the most convenient sites for this is heavens-above.com >
The first time you go there you will have to set your location. You can also establish a login, if you’d like, but I haven’t bothered doing that.
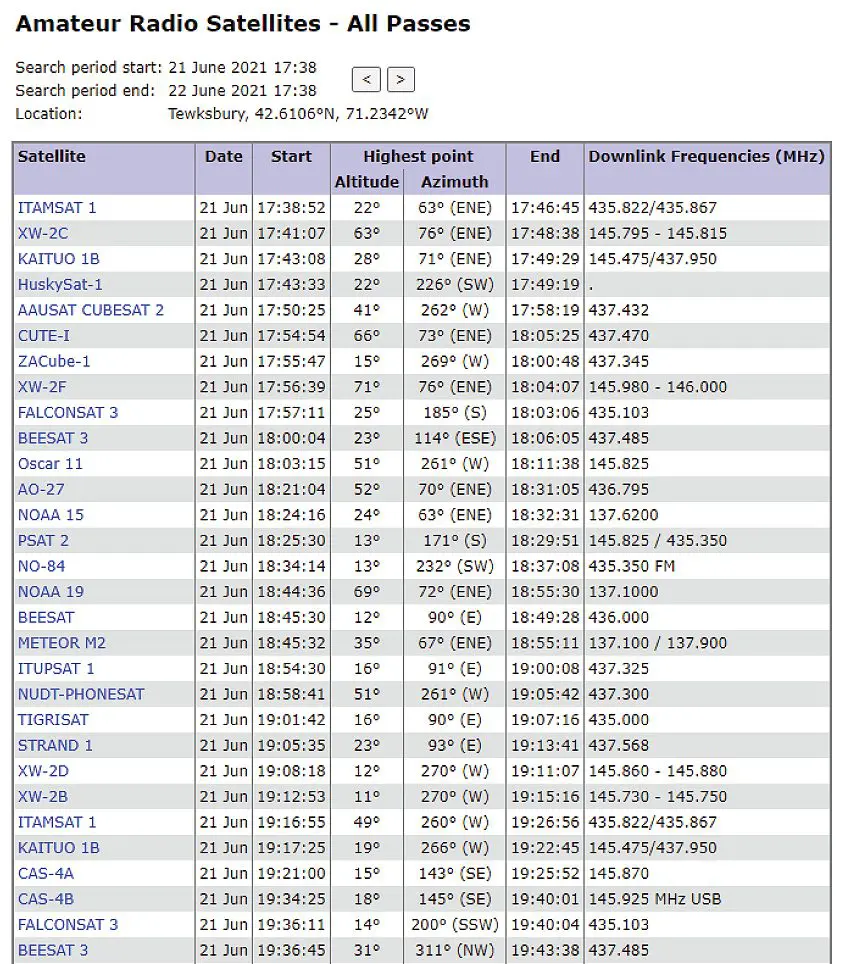
You can select the Amateur Radio item from the menu to get a list of the satellites expected to pass over.
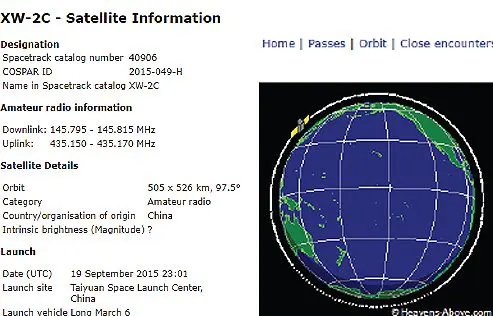
From that, depending on the time in relation to when you can listen, you can click on the satellite name to get additional information about the pass:
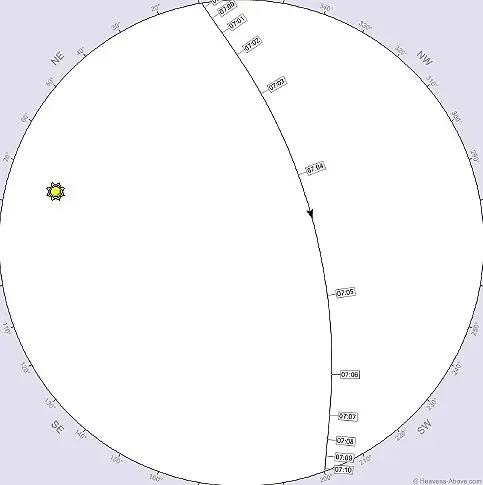
You’ll see a menu in the upper right, above the graphic, which will show you the pass details and then pick a specific pass for viewing (I like passes that are at least 45 degrees above the horizon):n click on the satellite name to get additional information about the pass:
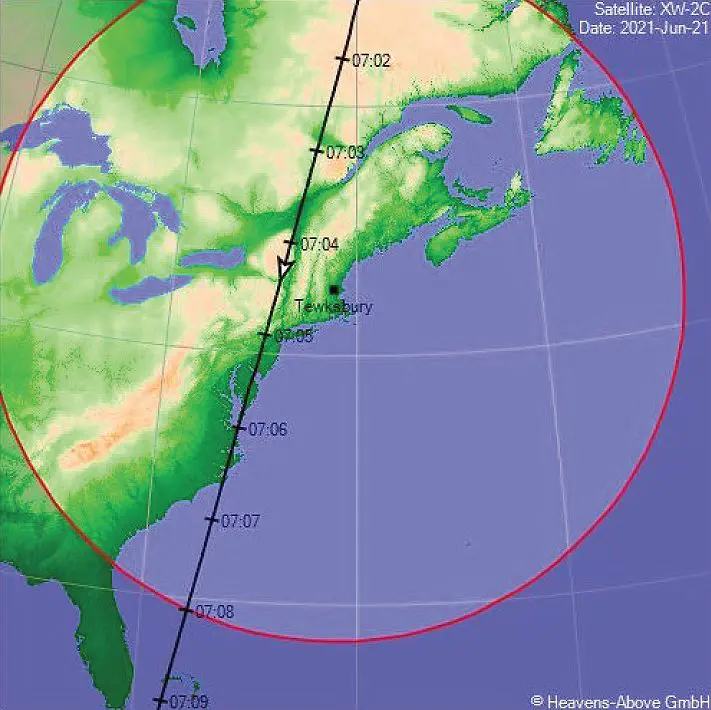
Note that the drawing has East on the left with the intention that the viewer would hold the graphic overhead looking up at it with north aligned to the top of the page. That would make East and West align correctly on the sky. The ground track can help put the pass in perspective:
Ground Track
Note that an arrow antenna hooked up to an HT is fun to work with tracking and polarity and helps to build better tracking skills: arrowantennas.com >
Final Note on Transmit/Receive Testing
It’s really not about power with radio transmission and reception. Power plays a role, but is only part of the picture. Having a properly tuned antenna for maximum propagation, not just antenna matching where a lot of the power goes into the matching system. Try to maximize the antenna, which includes as much height as you can afford to accomplish. Try to get up at least ¼ wavelength (λ). NASA spoke to the astronauts with about 25W over about 240,000 miles but awesome line-of-sight. Similarly, operators routinely communicate with the International Space Station (ISS) with less than 5W but, again, direct line of sight. Other factors, like sunspots and gray-line propagation, mean that certain times of day and space conditions will strongly influence ultimate success.







0 Comments